
🚀 Quick Overview
- The Problem: Your bot dies when you close your laptop.
- The Solution: Cloud Hosting (running your code on someone else’s server).
- The Tool: Render.com (Easier than AWS, Free Tier available).
- Time: 15 Minutes.
In this guide, you will learn how to host your Python Telegram bot for free so it runs 24/7 without interruption.
Building a bot is only half the battle. If you want to sell your Telegram Bot to a client or run a Crypto Alert system, you cannot run it from your personal laptop. You need a reliable cloud server that stays online forever.
Most tutorials suggest Heroku (which is no longer free) or AWS (which is complicated). Today, we will use Render, the modern, developer-friendly cloud platform that makes deployment incredibly simple.
Step 1: Prepare Your Code (requirements.txt)
Cloud servers are “blank slates.” They don’t know they need to install python-telegram-bot. We must tell them.
Create a file named requirements.txt in the same folder as your bot. Add the libraries you used:
python-telegram-bot
asyncio
(If you used other libraries like requests or pandas, add them here too).
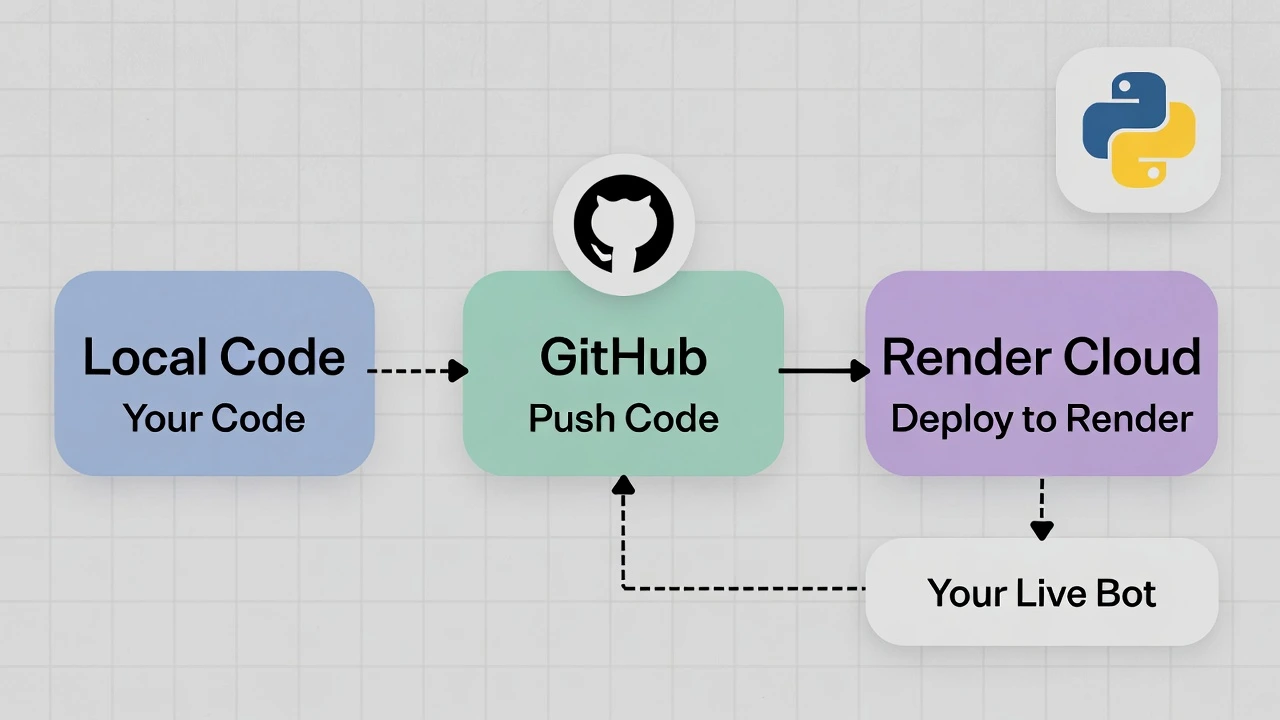
Step 2: Upload to GitHub
Render grabs your code directly from GitHub. If you haven’t used GitHub before:
- Create a free account at GitHub.com.
- Create a “New Repository” named
my-telegram-bot. - Upload your
my_bot.pyandrequirements.txtfiles to it.
Step 3: Deploy on Render
Now for the magic. We will connect Render to your GitHub repo.
- Go to Render.com and sign up (you can use your GitHub account).
- Click “New +” and select “Background Worker”. (Note: Do not choose “Web Service” for a bot, or it might crash for inactivity).
- Connect your GitHub account and select your
my-telegram-botrepository.
Configure the Settings:
- Name:
logicpy-bot - Region: Singapore or Oregon (doesn’t matter much for bots).
- Build Command:
pip install -r requirements.txt(This installs your libraries). - Start Command:
python my_bot.py(This runs your script).
Click “Create Background Worker”.
Step 4: Handling the API Token (Safety First!)
Your code on GitHub is public. NEVER upload your API Token (1234:ABC...) inside the code file.
Instead, we use Environment Variables.
- In your Python script, change this line:
import os
# Old way: TOKEN = "1234:ABC..."
# New way:
TOKEN = os.getenv("BOT_TOKEN")- On the Render Dashboard, go to the “Environment” tab.
- Add a variable:
- Key:
BOT_TOKEN - Value: Paste your actual secret token here.
- Key:
Conclusion
Wait a few minutes for Render to build your app. Once you see “Service is Live,” go to Telegram and test your bot.
You can now shut down your computer, go on vacation, or sleep. Your bot will keep running in the cloud, serving your users 24/7. This is the difference between a “hobby script” and a “professional product.”