🚀 Quick Overview
- The Problem: Clients and non-technical users cannot run Python code in a terminal.
- The Solution: Wrap your AI model in a beautiful web interface.
- The Tech:
Gradio(The fastest way to build UIs for Machine Learning). - Time to Build: 5 Minutes.
In this tutorial, you will learn how to share your Python machine learning models with the world by building a web interface using Gradio—in just three lines of code.
Over the last few weeks, you have built some incredible tools. You built an AI Sentiment Analyzer, a Text Summarizer, and an Image Classifier.
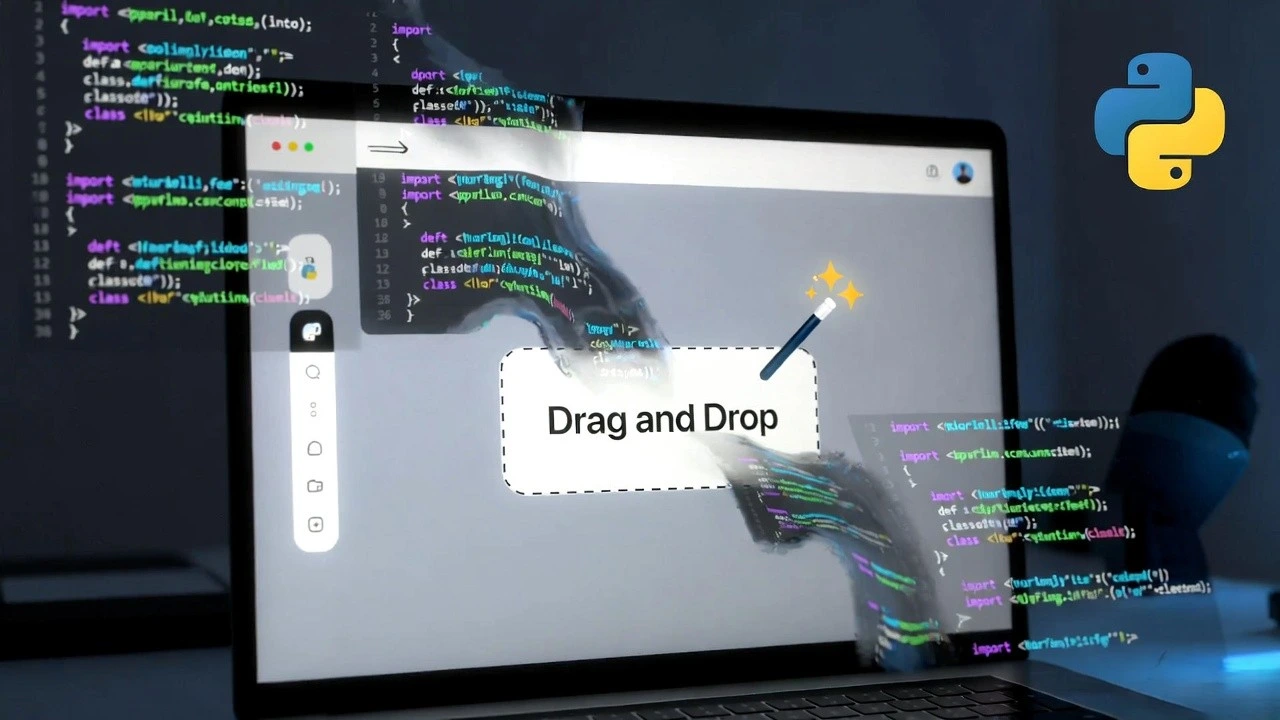
But let’s be honest: if you show a client or a recruiter a black command-line terminal, their eyes will glaze over. They don’t want to see `python script.py`. They want a button they can click. They want a box where they can drag and drop an image.
Traditionally, building a web app requires learning HTML, CSS, JavaScript, and complex web frameworks. Today, we are going to cheat. We are going to use Gradio, a Python library specifically designed to wrap Machine Learning models in beautiful web UIs instantly.
Step 1: The Setup
Open your terminal and install Gradio. Since we are going to hook it up to our Image Classifier from last week, make sure you still have PyTorch installed as well.
pip install gradio torch torchvision PillowStep 2: The Core Logic (Our AI Function)
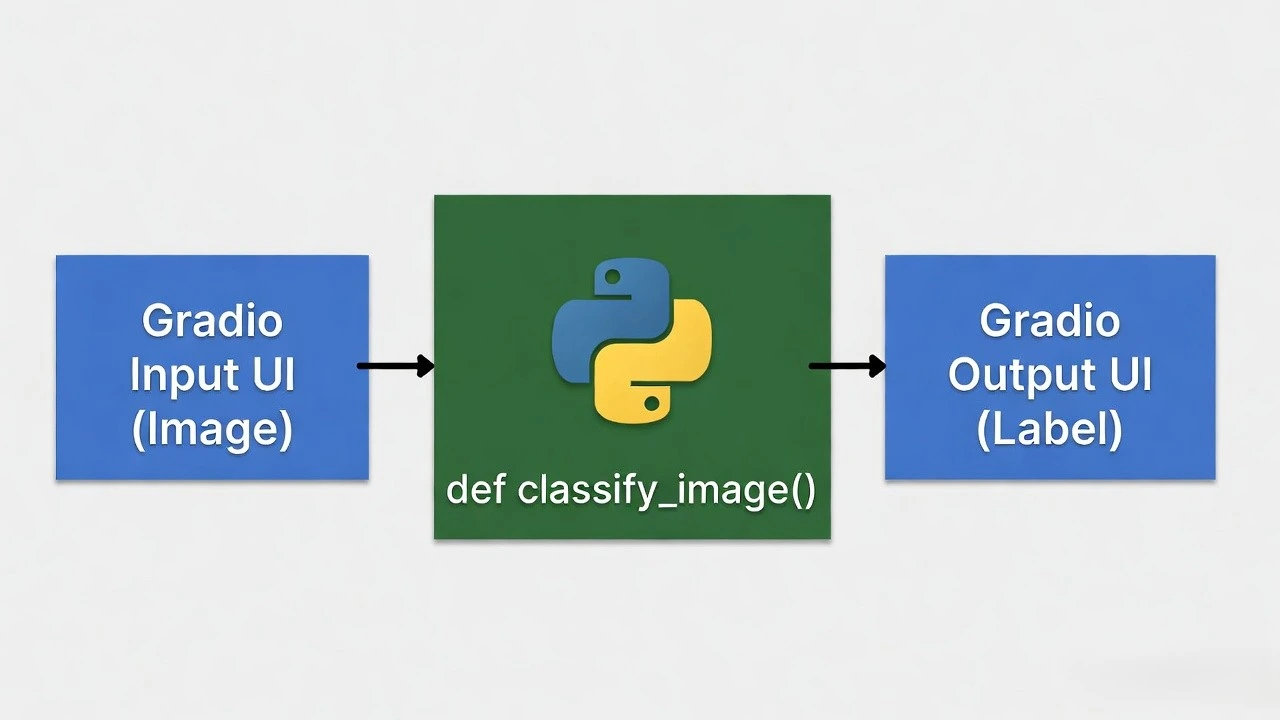
Gradio works by taking a standard Python function and mapping its inputs and outputs to web elements.
First, let’s repackage our ResNet50 image classifier into a clean, reusable function. Create a file named app.py:
import torch
from torchvision import models, transforms
from PIL import Image
import requests
import gradio as gr

# 1. Load the Model (We do this OUTSIDE the function so it only loads once)
model = models.resnet50(pretrained=True)
model.eval()

# Download the English labels dictionary
LABELS_URL = "https://raw.githubusercontent.com/pytorch/hub/master/imagenet_classes.txt"
labels = requests.get(LABELS_URL).text.split('\n')

# 2. Define the core function
def classify_image(input_image):
    # Format the image for the AI
    preprocess = transforms.Compose([
        transforms.Resize(256),
        transforms.CenterCrop(224),
        transforms.ToTensor(),
        transforms.Normalize(mean=[0.485, 0.456, 0.406], std=[0.229, 0.224, 0.225]),
    ])

    input_tensor = preprocess(input_image)
    input_batch = input_tensor.unsqueeze(0)

    # Make the prediction
    with torch.no_grad():
        output = model(input_batch)

    # Get the top 3 predictions
    probabilities = torch.nn.functional.softmax(output[0], dim=0)
    top3_prob, top3_catid = torch.topk(probabilities, 3)

    # Format the result as a dictionary for Gradio
    results = {}
    for i in range(top3_prob.size(0)):
        results[labels[top3_catid[i]]] = top3_prob[i].item()

    return results
Step 3: Adding the Gradio Magic
Now that we have a function classify_image that takes an image and returns a dictionary of results, let’s wrap it in a UI.
Add these final three lines to the bottom of your app.py script:
# 3. Create the Web Interface
demo = gr.Interface(
fn=classify_image, # The function to run
inputs=gr.Image(type="pil"), # The Web UI Input (Drag and drop image box)
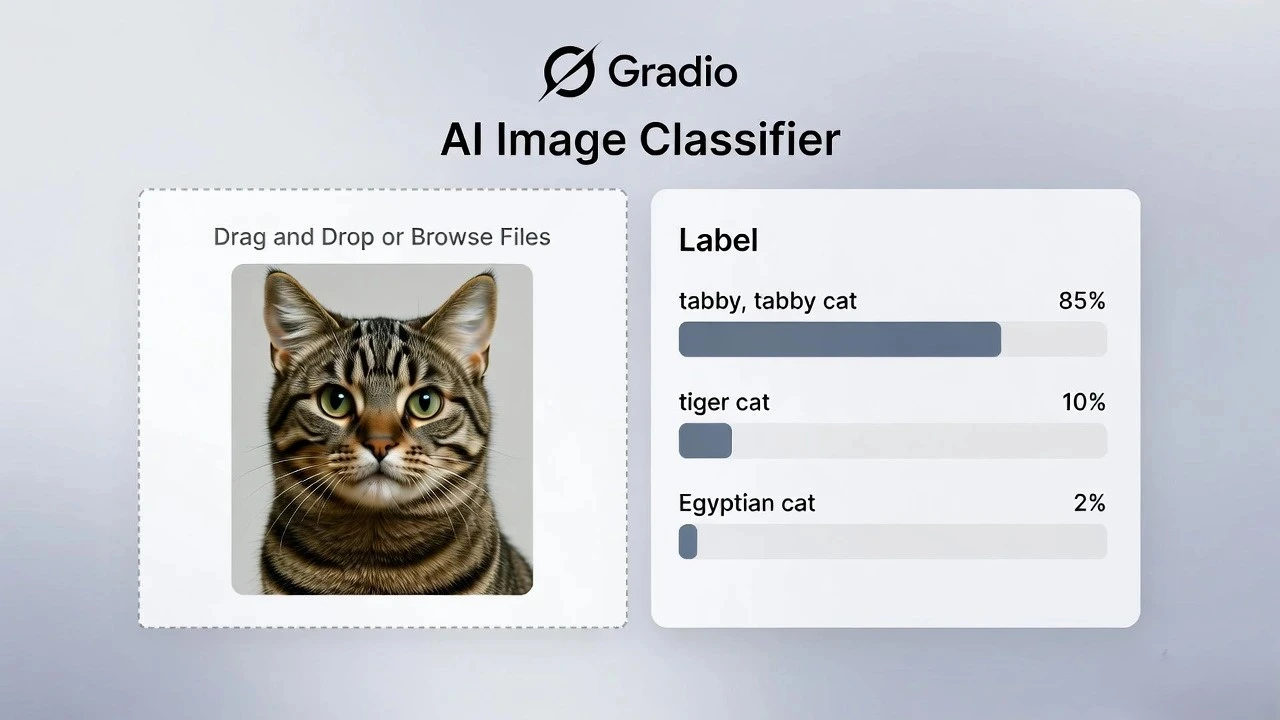
outputs=gr.Label(num_top_classes=3), # The Web UI Output (A beautiful bar chart)
title="AI Image Classifier",
description="Drag and drop a photo to see what the AI thinks it is!"
)
# 4. Launch the App
demo.launch()Step 4: See Your App in the Browser!
Run your script in the terminal:
python app.pyYou will see a message: Running on local URL: http://127.0.0.1:7860
Open that URL in your browser. You now have a fully functional web application! You can drag and drop photos from your computer, and the AI will generate a confidence bar chart of what it sees.
demo.launch(share=True). Gradio will generate a temporary public link (like https://1234abcd.gradio.live) that you can text to a friend or client so they can try your AI on their phone!Conclusion
Congratulations! You have completed the ultimate beginner-to-pro workflow. You can now write Python logic, integrate powerful AI models, and deploy them as accessible web applications. This is the exact skill set required to build scalable Micro-SaaS products and generate real freelance income.