🚀 Quick Overview
- The Problem: Terminal scripts are great for developers, but if you want to sell software or share it with non-technical users, you need a Graphical User Interface (GUI).
- The Solution: Wrap our existing Offline Whisper Transcription script inside a sleek, dark-mode desktop window.
- The Tech: Python,
openai-whisper, andcustomtkinter. - Time to Build: 25 Minutes.
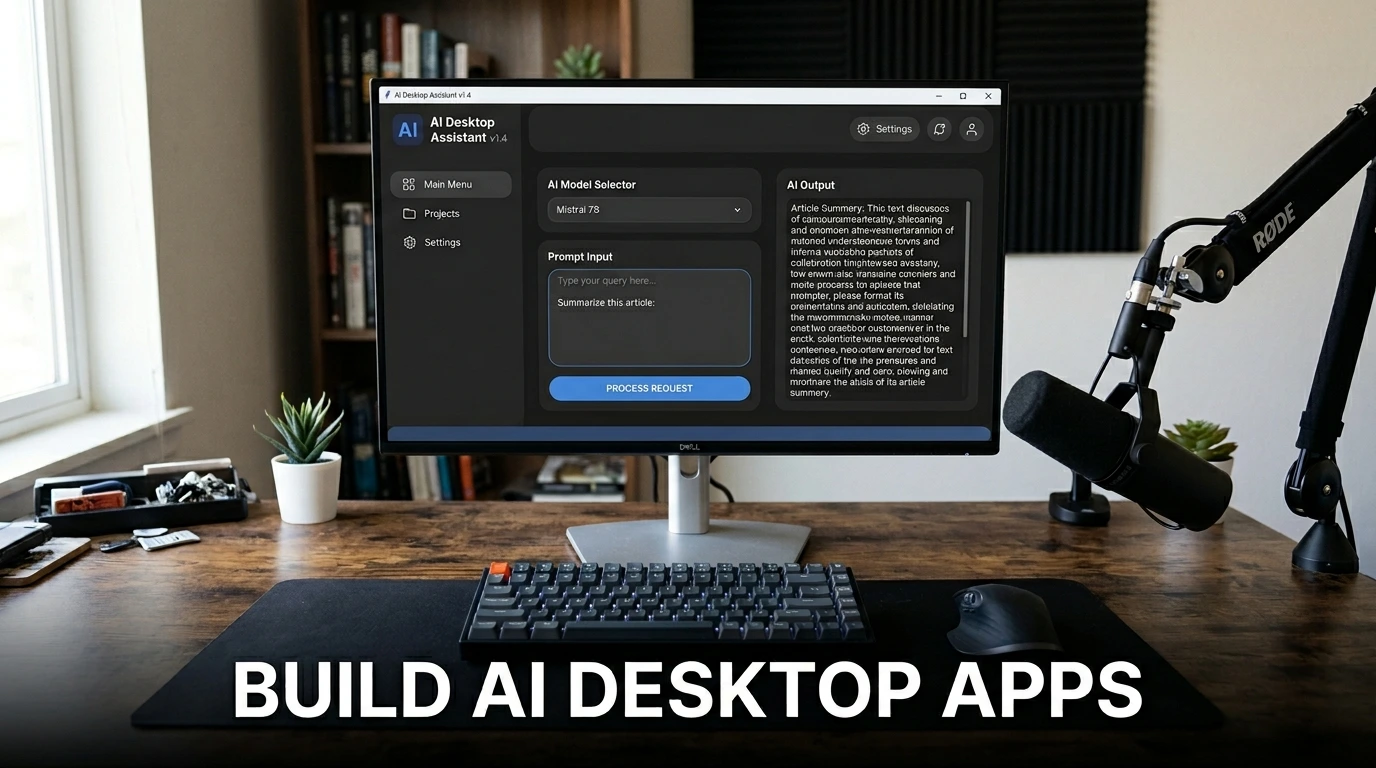
In this tutorial, you will learn how to build a modern desktop AI application using Python by combining OpenAI’s Whisper model with the CustomTkinter GUI library.
Writing a Python script that runs in the terminal is an excellent first step. But what happens when you want to give that tool to a client, a coworker, or sell it as a standalone product? Non-technical users do not open the command prompt.
They expect a real app. They want a window they can move around, buttons they can click, and text boxes they can read.
Earlier, we built an Offline AI Transcription Bot that converted MP3s to text via the terminal. Today, we are graduating from scripts to software. We are going to use CustomTkinter to build a sleek, modern, dark-mode GUI for our AI engine. Let’s build your first piece of real desktop software.
Step 1: The Setup
Traditional `Tkinter` (Python’s built-in GUI library) looks like it belongs in Windows 95. We are using `CustomTkinter`, which provides modern, rounded, dark-mode widgets out of the box.
pip install customtkinter openai-whisperStep 2: Designing the User Interface
Before we add the AI brain, let’s build the body. We need a window, a button to select our audio file, a button to start transcribing, and a large text box to display the output.
Create a file named ai_app.py:
import customtkinter as ctk
from tkinter import filedialog

# 1. Initialize the Window
ctk.set_appearance_mode("dark")
ctk.set_default_color_theme("blue")

app = ctk.CTk()
app.geometry("600x500")
app.title("LogicPy AI Transcriber")

# 2. Add UI Elements
title_label = ctk.CTkLabel(app, text="Offline AI Transcriber", font=("Arial", 24, "bold"))
title_label.pack(pady=20)

# A variable to store our selected file path
selected_file_path = ""

def select_file():
    global selected_file_path
    filename = filedialog.askopenfilename(title="Select Audio File", filetypes=[("Audio Files", "*.mp3 *.wav *.m4a")])
    if filename:
        selected_file_path = filename
        status_label.configure(text=f"Selected: {filename.split('/')[-1]}")

select_btn = ctk.CTkButton(app, text="1. Select Audio File", command=select_file)
select_btn.pack(pady=10)

status_label = ctk.CTkLabel(app, text="No file selected", text_color="gray")
status_label.pack(pady=5)

transcribe_btn = ctk.CTkButton(app, text="2. Transcribe Audio", fg_color="green", hover_color="darkgreen")
transcribe_btn.pack(pady=10)

# The large text box for our transcript
textbox = ctk.CTkTextbox(app, width=500, height=200)
textbox.pack(pady=20)

# 3. Run the App
app.mainloop()
Run this script. You will see a beautiful, clickable application pop up on your screen. The buttons don’t process the audio just yet, but the interface is ready.
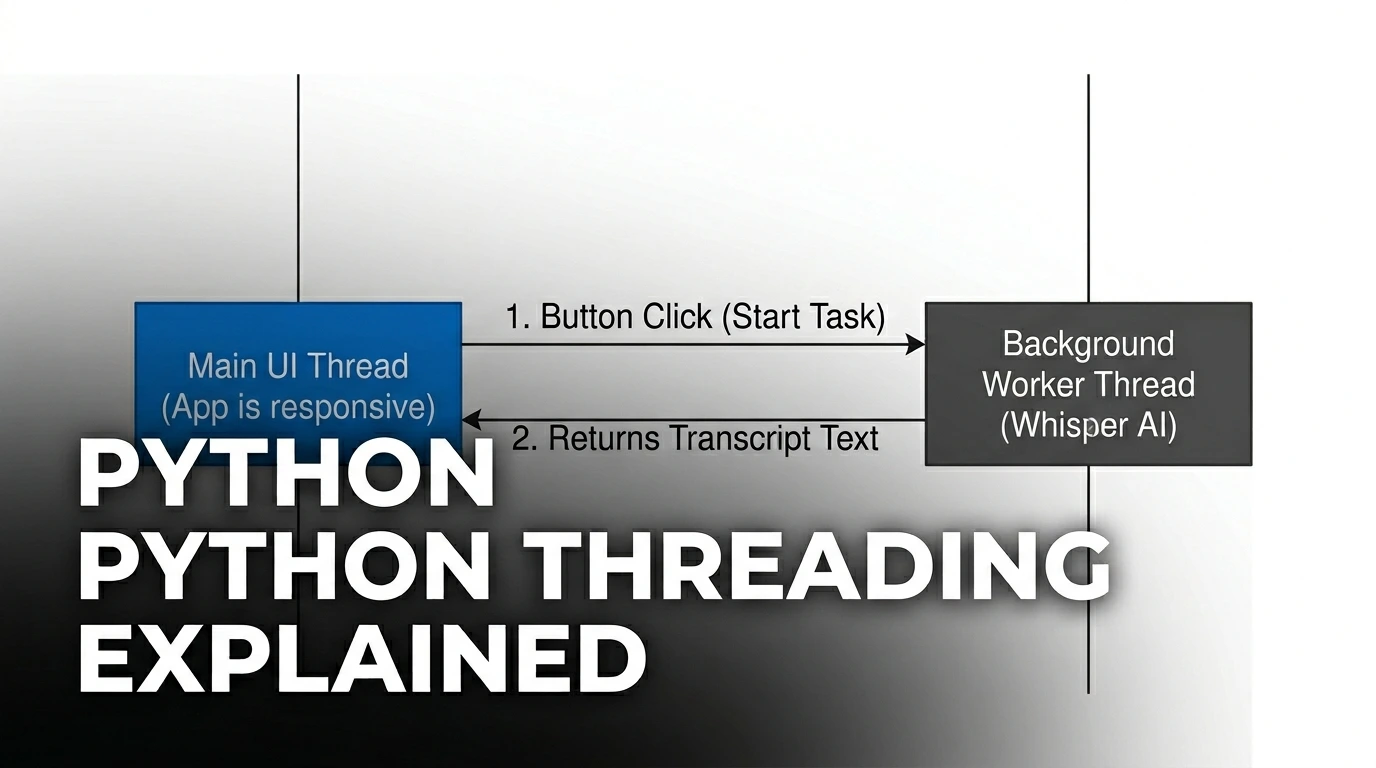
Step 3: Connecting the AI (The “Threading” Secret)
Here is a critical rule of desktop software: Never run heavy processes on the main UI thread.
If we tell Whisper to transcribe a 10-minute audio file right when we click the button, the entire app will freeze and Windows will say “Not Responding” until it finishes. To fix this, we put the AI task on a background Thread.
Let’s update our ai_app.py file to include Whisper and Threading:
import customtkinter as ctk
from tkinter import filedialog
import whisper
import threading

# ... (Keep the window initialization from Step 2) ...

def run_transcription():
    if not selected_file_path:
        textbox.insert("0.0", "Error: Please select a file first!\n")
        return

    # Disable the button so the user doesn't click it twice
    transcribe_btn.configure(state="disabled", text="Transcribing...")
    textbox.delete("0.0", "end")
    textbox.insert("0.0", "Loading AI Model... This may take a moment.\n")

    # Run the heavy AI logic in the background
    threading.Thread(target=process_audio).start()

def process_audio():
    try:
        # Load the model and transcribe
        model = whisper.load_model("base")
        result = model.transcribe(selected_file_path)

        # Update the UI with the final text
        textbox.delete("0.0", "end")
        textbox.insert("0.0", result["text"])
    except Exception as e:
        textbox.insert("end", f"\nError: {str(e)}")
    finally:
        # Re-enable the button when finished
        transcribe_btn.configure(state="normal", text="2. Transcribe Audio")

# ... (Update your transcribe button command) ...
transcribe_btn = ctk.CTkButton(app, text="2. Transcribe Audio", fg_color="green", hover_color="darkgreen", command=run_transcription)

# ... (Keep the rest of your UI packing and app.mainloop()) ...
Step 4: The Final Result
Run your application. Click “Select Audio File” and grab an MP3. Click “Transcribe Audio.”
The button will gracefully change to “Transcribing…”, the app will remain perfectly responsive, and within seconds, your highly accurate text transcript will appear in the text box.
Real-World Value
You have just transitioned from a scripter to an application developer. This interface solves the biggest problem with freelance Python tools: usability. You can hand this exact script to a marketing team, and they can use it immediately without knowing what a terminal is.
Conclusion
Building GUIs with CustomTkinter is the fastest way to turn your automation scripts into professional products. But there is one final step. Right now, the user still needs Python installed to run it.
In our next tutorial, we will learn how to compile this entire application into a single, clickable .EXE file using PyInstaller, so anyone can run it on any Windows machine!