🚀 Quick Overview
- The Problem: Python scripts only run when your laptop is open. If you want to use your tools from your smartphone, they need to live in the cloud.
- The Solution: Build a Telegram Bot interface for our
yt-dlpscript and deploy it to a free cloud server so it runs 24/7. - The Tech: Python,
pyTelegramBotAPI,yt-dlp, and Render (Cloud Hosting). - Time to Build: 25 Minutes.
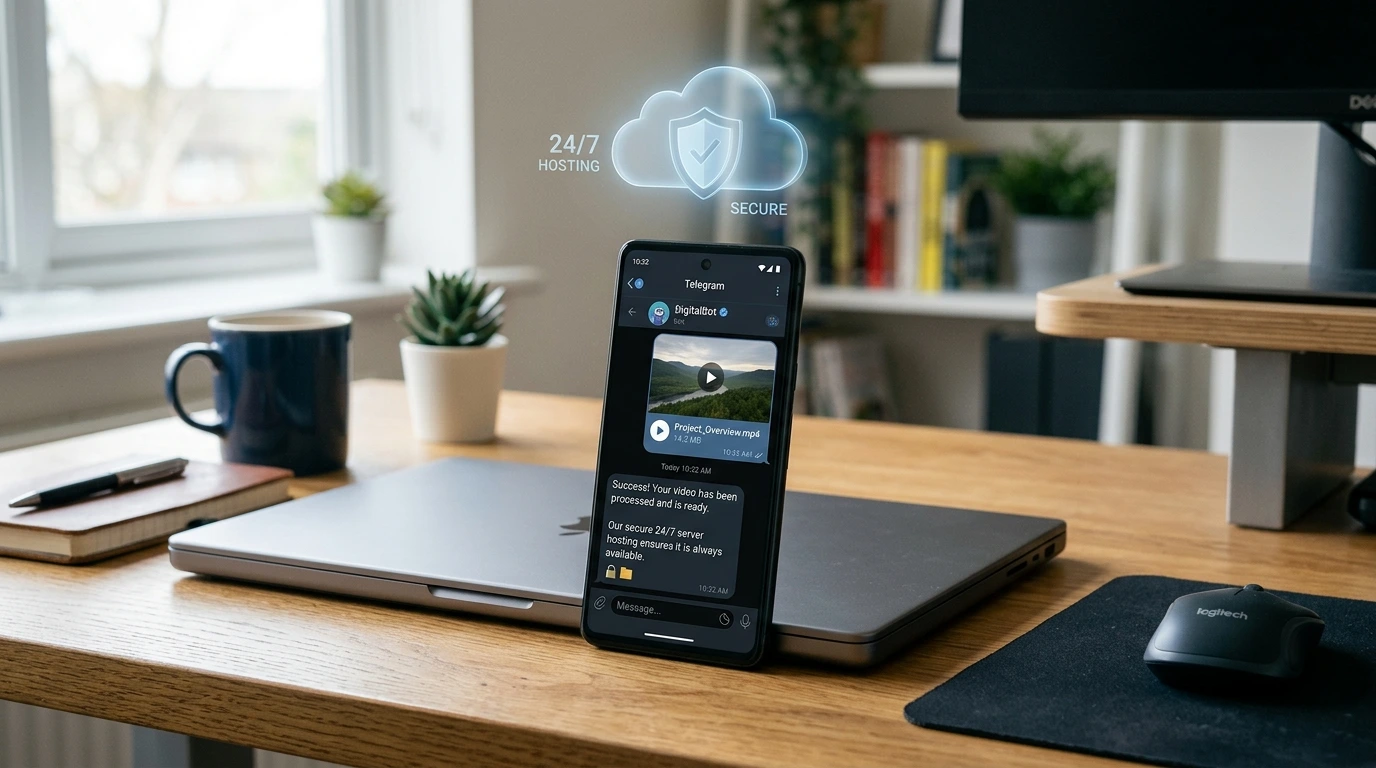
In this tutorial, you will learn how to build a Python-powered Telegram bot and deploy it to Render’s free cloud hosting tier, giving you 24/7 access to your automation tools from your smartphone.
Over the last few tutorials, we have focused on making Python usable. We built beautiful Desktop GUIs and compiled our code into standalone .EXE files. But desktop software has one massive limitation: you have to be sitting at your desk to use it.
What if you are scrolling on your phone, see a funny video, and want to download it instantly without dealing with sketchy ad-filled websites? You need a cloud assistant.
Today, we are combining two incredibly powerful concepts. First, we will turn the messaging app Telegram into a remote control for our Python code. Second, we will upload that code to a free cloud server called Render. Once we finish, you will be able to text a YouTube link to your bot, and your cloud server will instantly reply with the downloaded MP4 file.
Step 1: Create the Bot on Telegram
Telegram is the absolute best platform for Python developers because its API is completely free and incredibly easy to use.
- Open the Telegram app and search for BotFather (the official bot creator).
- Send the message
/newbot. - Follow the prompts to give your bot a name and a username.
- BotFather will reply with an HTTP API Token (a long string of letters and numbers). Keep this secret! It is the password to your bot.
Now, open your terminal and install our two required Python libraries:
pip install pyTelegramBotAPI yt-dlpStep 2: The “FFmpeg-Free” Python Code
When deploying to free cloud servers, installing external system tools like FFmpeg can be a massive headache. Here is a brilliant developer hack: if we instruct yt-dlp to grab the ‘best’ single file rather than merging the highest quality video and audio separately, it bypasses the FFmpeg requirement entirely!
Create a file named main.py:
import telebot
import yt_dlp
import os

# Replace with the Token you got from BotFather
BOT_TOKEN = "YOUR_TELEGRAM_BOT_TOKEN"
bot = telebot.TeleBot(BOT_TOKEN)

print("Bot is waking up...")

# This decorator tells the bot to listen for ANY message that starts with 'http'
@bot.message_handler(func=lambda msg: msg.text.startswith('http'))
def download_video(message):
    bot.reply_to(message, "Downloading... This might take a minute ⏳")
    url = message.text

    # The 'best' format grabs a pre-merged 720p file. No FFmpeg required!
    ydl_opts = {
        'format': 'best',
        'outtmpl': 'downloaded_video.%(ext)s',
        'quiet': True
    }

    try:
        # Download the video to the cloud server
        with yt_dlp.YoutubeDL(ydl_opts) as ydl:
            ydl.download([url])

        # Open the file and send it back to the user via Telegram
        with open('downloaded_video.mp4', 'rb') as video:
            bot.send_video(message.chat.id, video)

        # Clean up the server storage to prevent running out of space!
        os.remove('downloaded_video.mp4')

    except Exception as e:
        bot.reply_to(message, "Failed to download. Ensure it's a valid public link.")

# Keep the bot listening 24/7
bot.infinity_polling()
Run this script on your laptop. While it is running, open Telegram on your phone, find your bot, and paste a YouTube link. It will reply with the actual video file! But if you close your laptop, the bot dies. Let’s fix that.
Step 3: Prepping for the Cloud (requirements.txt)
Cloud servers are blank slates. When Render boots up your bot, it has no idea what libraries to install. We must explicitly tell it.
In the same folder as your main.py, create a new text file named requirements.txt. Add these exactly as written:
pyTelegramBotAPI==4.15.4
yt-dlp==2023.12.30
(Pro-tip: You can just run pip freeze > requirements.txt in your virtual environment to generate this automatically).
Step 4: Deploying to Render
We are going to use Render.com because they offer a fantastic free tier for Python applications.
- Upload your
main.pyandrequirements.txtfiles to a free repository on GitHub. - Go to Render.com and sign up for a free account.
- Click New -> Web Service.
- Connect your GitHub account and select your repository.
- Configure the settings exactly like this:
- Environment: Python 3
- Build Command:
pip install -r requirements.txt - Start Command:
python main.py - Instance Type: Free
- Click Create Web Service.
Step 5: The “Keep-Alive” Hack
Render will look at your code, install the libraries, and launch your bot. Within 2-3 minutes, your terminal log on Render will say “Bot is waking up…”
https://your-bot-name.onrender.com) every 10 minutes. This tricks the server into staying awake permanently!Conclusion
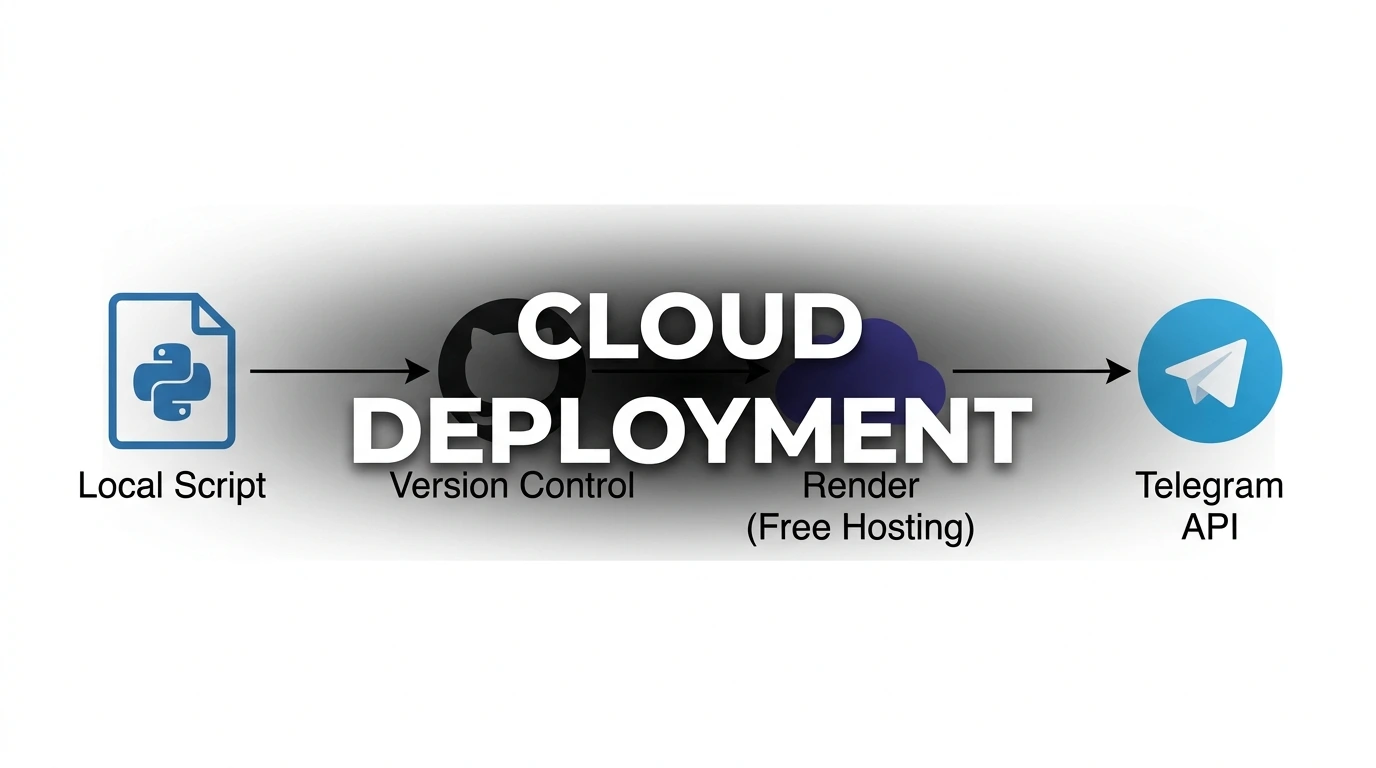
You have officially moved from local execution to cloud deployment. You now have a custom, programmatic assistant that lives in your pocket, ready to execute your code from anywhere in the world.
This wraps up our “Ship It” sprint. You now know how to build UIs, package executables, and host cloud servers. Next month, we are diving deep into Social Media Engineering to learn how to manipulate the algorithms of TikTok and Facebook!