🚀 Quick Overview
- The Problem: Opening Photoshop to manually change the text on 30 different YouTube thumbnails takes hours of mind-numbing clicking.
- The Solution: A Python script that loops through a folder of raw images, applies a cinematic dark overlay, and stamps dynamic, bold text automatically.
- The Tech: The
Pillow(PIL) library. - Time to Build: 15 Minutes.
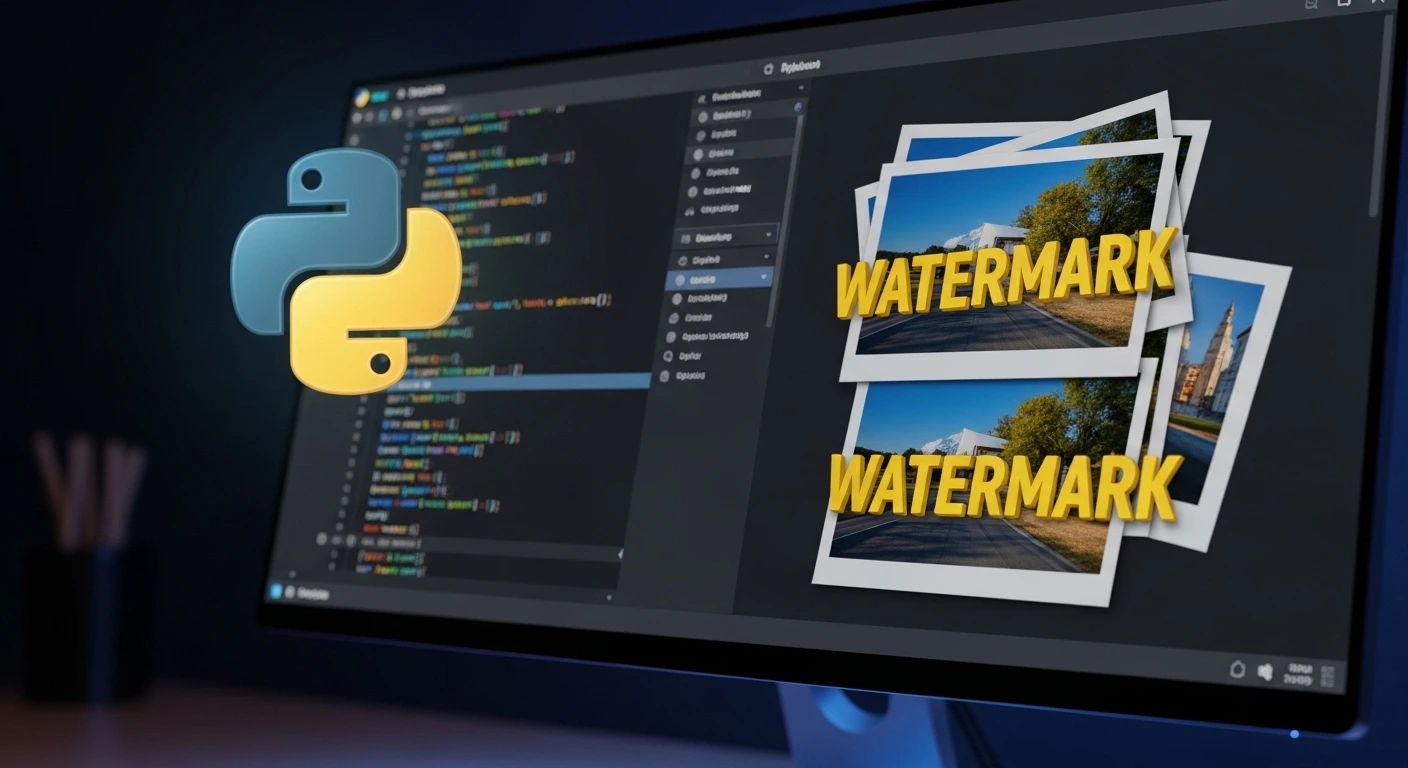
In this tutorial, you will learn how to automate graphic design and batch-process images using Python’s Pillow library to instantly generate highly clickable YouTube thumbnails.
You have written the script, generated the AI voiceover, and rendered the video. But if your thumbnail is an afterthought, the YouTube algorithm will bury your content.
The problem is that graphic design software like Photoshop does not scale. If you are running a Faceless Channel or managing a client’s social media, you might need to produce 30 Shorts and 4 long-form videos every single month. That means designing 34 unique thumbnails.
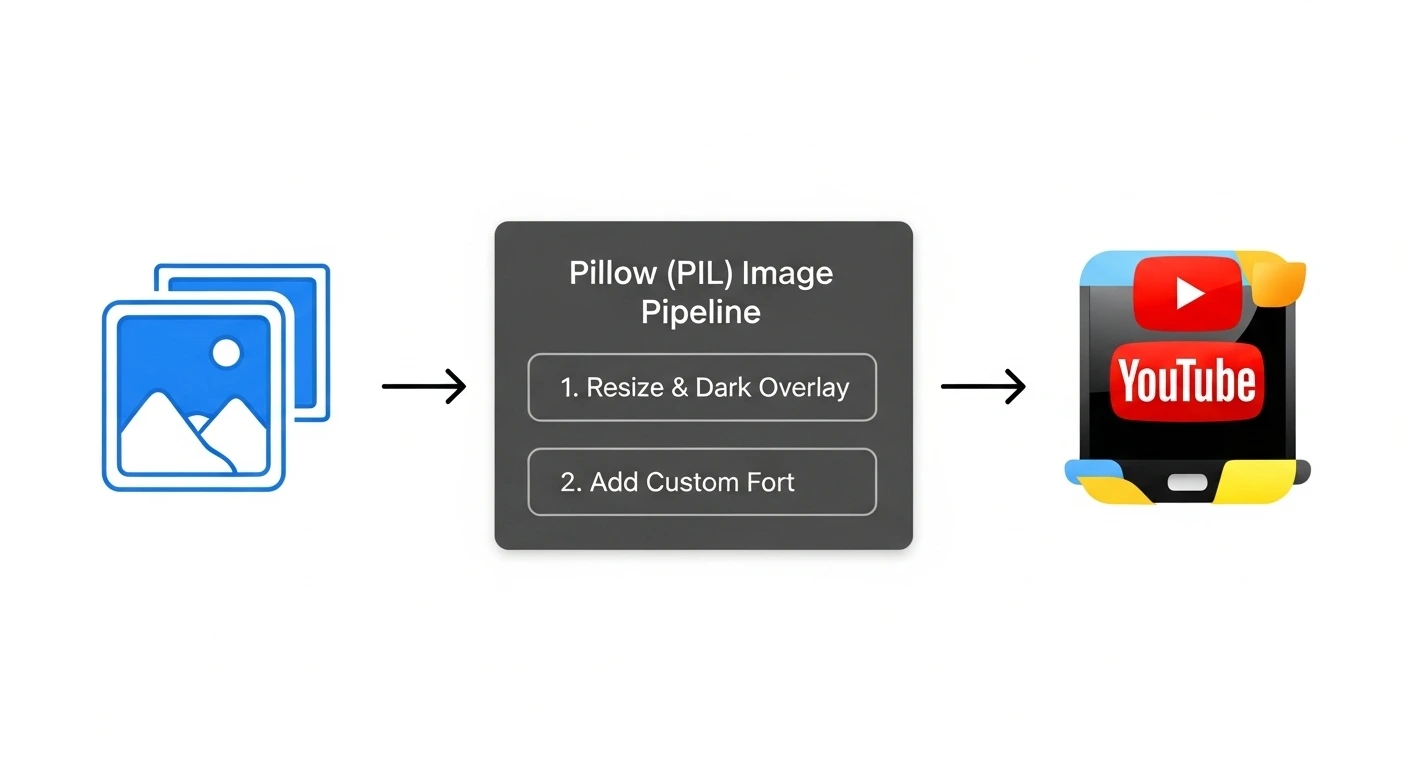
Instead of manually dragging layers and tweaking text boxes, we are going to treat image editing like a data pipeline. Today, we will write a Python script that takes raw, unedited photos and automatically transforms them into professional, viral-style 1280×720 YouTube thumbnails.
Step 1: The Setup
To manipulate images, we need Python’s go-to imaging library: Pillow. Open your terminal and install it:
pip install Pillow1. A raw background image (name it raw_bg.jpg).
2. A bold, readable font file (Download a free font like Impact or Anton from Google Fonts and save it in your folder as Impact.ttf).
Step 2: Sizing and the “Cinematic Overlay”
If you just slap white text onto a bright photo, nobody will be able to read it. Professional designers always add a dark overlay or gradient behind their text to make it pop.
Create a file named thumbnail_bot.py. We will start by loading the image, forcing it to the standard YouTube size (1280×720), and adding a 40% transparent black overlay.
from PIL import Image, ImageDraw, ImageFont

# 1. Load the raw image
print("1. Loading raw image...")
bg_image = Image.open("raw_bg.jpg")

# 2. Force it to standard YouTube Thumbnail size
bg_image = bg_image.resize((1280, 720))

# 3. Create the Cinematic Dark Overlay
print("2. Applying dark overlay...")
# Create a new, completely black image of the same size
overlay = Image.new('RGBA', bg_image.size, (0, 0, 0, 100)) # 100 is the transparency (0-255)

# Convert the background to RGBA so we can blend them
bg_image = bg_image.convert('RGBA')

# Paste the semi-transparent black box over the original image
final_image = Image.alpha_composite(bg_image, overlay)
Step 3: Stamping the Viral Text
Now that our background is beautifully darkened, we need to draw our text. We will use the ImageDraw module to mathematically center the text on the canvas.
# ... (Continue from Step 2) ...

print("3. Stamping dynamic text...")
# Initialize the drawing tool
draw = ImageDraw.Draw(final_image)

# Load our downloaded font file (size 120 for massive visibility)
custom_font = ImageFont.truetype("Impact.ttf", 120)

thumbnail_text = "LEARN PYTHON\nIN 10 MINUTES!"

# Add a drop shadow for extra readability (Draw it slightly offset in black)
draw.multiline_text((95, 205), thumbnail_text, font=custom_font, fill=(0, 0, 0), align="center")

# Draw the main text (in bright Yellow)
draw.multiline_text((90, 200), thumbnail_text, font=custom_font, fill=(255, 255, 0), align="center")

# 4. Save the Final Export
print("4. Exporting final thumbnail...")
# Convert back to RGB to save as a JPG
final_image = final_image.convert('RGB')
final_image.save("final_thumbnail.jpg")

print("✅ Success! Check your folder for the finished thumbnail.")
Step 4: The True Power (The Batch Automator)
Doing this for one image is cool. Doing it for 50 images in one second is how you build a business.
You can wrap the code above into a function, point it at a folder named /raw_images/, and loop through a Python Dictionary of video titles to generate a month of content instantly:
import os

# Imagine this data was scraped from your Notion Database!
videos_to_publish = {
    "raw_bg_1.jpg": "PYTHON BASICS",
    "raw_bg_2.jpg": "AUTOMATE YOUR LIFE",
    "raw_bg_3.jpg": "BUILD A SAAS"
}

for filename, text in videos_to_publish.items():
    # Run the image processing logic here...
    print(f"Generated thumbnail for: {text}")
Real-World Freelance Value
You have just built the ultimate “Social Media Manager” bot.
If you pair this script with the Notion API integration we built, you can literally type a video title into your Notion database, and Python will automatically generate the thumbnail, save it, and update the database with the finished file. You can sell this exact automation pipeline to digital marketing agencies.
Conclusion
By automating your graphic design workflow, you have eliminated the final manual bottleneck in the content creation process. You can now extract audio, edit video, generate subtitles, and build thumbnails—all from your terminal.
Next week, we enter Week 4, where we will bring all of these scripts together into the ultimate Capstone project!